
Mastering Leading Lines: The Secret Sauce for Eye-Catching Photography
So, you've got your camera, a keen eye for detail, and a burning desire to capture the world's beauty. But wait! Are your photos lacking that oomph? Fear not, fellow shutterbug, for I bring you the magical power of leading lines. Yes, those mysterious visual pathways that guide our peepers right into the heart of a photograph. Intrigued? Grab your favourite lens, and let's embark on this adventure!
What Are Leading Lines?
Imagine you’re at a party, and there’s a conga line (stay with me here). Everyone follows the person in front, eventually leading them to the dance floor—or in our case, to the main subject of the photo. Leading lines do the same thing in photography. They draw the viewer’s eye through the image, creating a natural pathway to the focal point.
Types of Leading Lines
Leading lines come in all shapes and sizes, much like socks that mysteriously vanish in the laundry. Here are a few common types:
Horizontal Lines: Think of the horizon, a calm beach, or that never-ending highway. These lines add a sense of tranquility and stability.
Vertical Lines: Imagine towering trees or skyscrapers. Vertical lines exude strength and growth.
Diagonal Lines: These lines are the drama queens. They add a sense of action, depth, and perspective.
Curved Lines: Gentle, swooping curves like rivers or pathways invite the viewer on a visual journey, creating a sense of harmony and flow.
How to Use Leading Lines Effectively
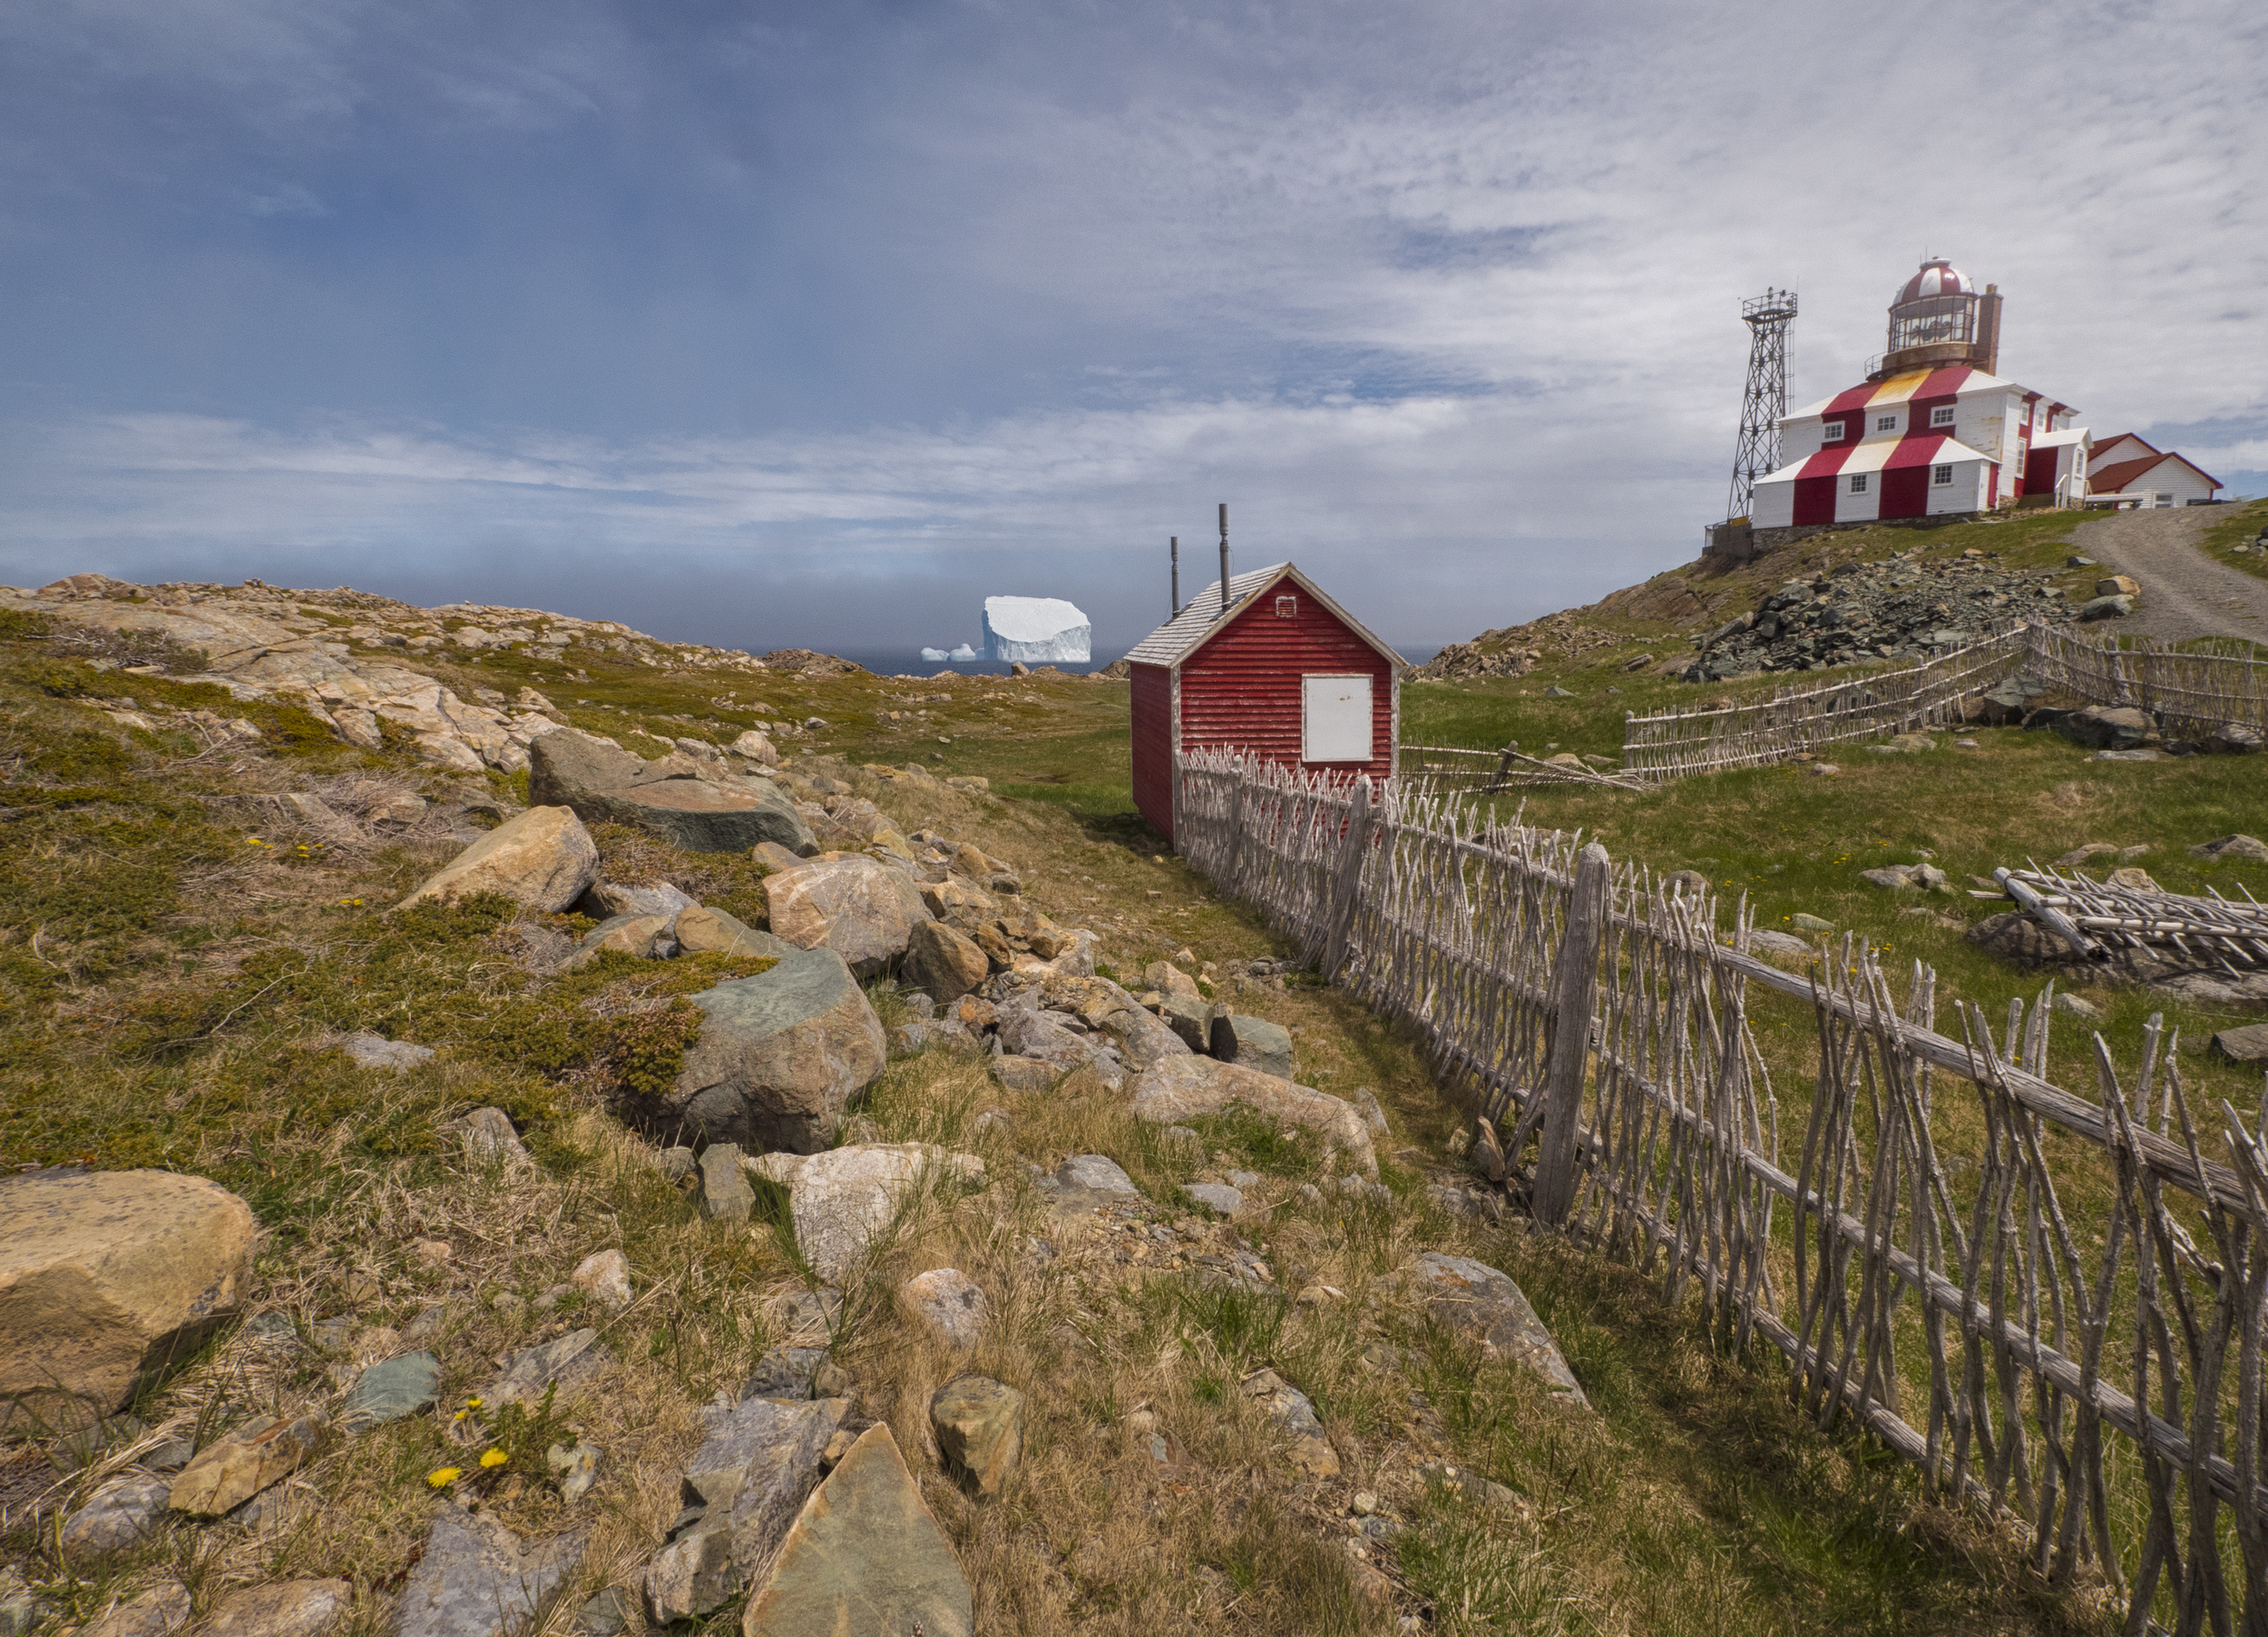
Find Your Lines: Look for natural or man-made lines in your environment. Roads, fences, bridges, rivers, and even shadows can act as leading lines.
Pro Tip: Sometimes, you might need to channel your inner contortionist to get the perfect angle. It's worth it. Your yoga teacher would be proud.
Point Them at Your Subject: The lines should lead to your main subject, whether it’s a majestic mountain, a charismatic cat, or your best friend's contagious smile.
Pro Tip: If your subject isn’t where the lines naturally lead, adjust your position. Think of it as a game of hide and seek, but with less running and more creative positioning.
Create Depth and Dimension: Leading lines can add a 3D effect to your photos, making them pop like a Jack-in-the-box (minus the heart attack). Use lines that recede into the distance to give a sense of scale and perspective.
Experiment with Composition: While the Rule of Thirds is a solid guideline, don’t be afraid to break the rules. Place your subject off-center if it feels right, and let the lines guide the viewer’s eye naturally.
Mind the Foreground: Sometimes, a strong foreground element can enhance the impact of your leading lines. Rocks, foliage, or that random park bench can add interest and balance.
Use Light and Shadows: Light can create leading lines too. Shadows, sunbeams, and reflections can be just as effective in guiding the viewer’s eye.
Pro Tip: Golden hour is your best friend. It’s like nature’s Instagram filter, but way better.
Practice Makes Perfect
As with anything, practice is key. Wander through your city, hike those trails, or even explore your backyard with fresh eyes. Look for lines and experiment with different compositions. Soon, you’ll be a leading lines maestro, impressing your friends and followers with your eye-catching shots.
Conclusion
Incorporating leading lines into your photography is like adding a secret ingredient to your favorite recipe—it enhances the flavor and makes everything come together beautifully. So next time you’re out with your camera, channel your inner Picasso (or Bob Ross, if you prefer happy little lines), and let those lines lead the way. Happy shooting!
And remember, if anyone asks why you’re lying on the ground to get that perfect shot, just tell them you’re communing with the artistic spirits. They’ll understand. Or at least, they’ll pretend to.
We won’t be leading a conga line on our workshops, but we will have fun. Check out our workshops here.